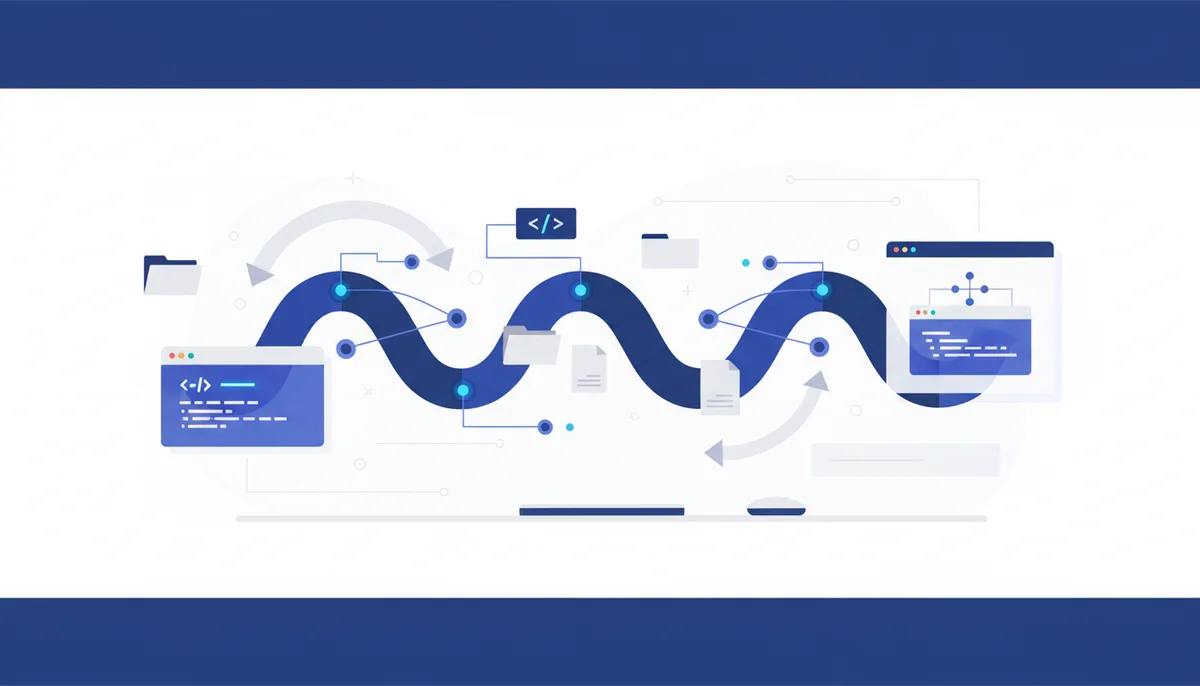
Hey, vibe coder! If you have ever lost hours of work to an accidental delete, an overwrite, or simply could not remember which version of the code worked yesterday, this one is for you. Git is not just a tool — it is your personal time machine for code, and it lets you focus on creating instead of worrying about losing progress.
Why you need it
In the world of vibe coding, where experiments and fast iterations are the norm, Git becomes an indispensable sidekick. Imagine you are working on a new prompt for a neural net that generates unique image styles. You try different parameters, you restructure the request. Without Git you risk losing the one lucky combination that gave you the breakthrough. With Git every step you take is recorded like a save file in a game. You can:
- Go back to any previous version: if the new experiment flopped, you can always roll back to the last working version. It is an undo button for the whole project.
- Work on several ideas at once: want to try two different concepts for the same project? Create separate branches and develop them in parallel without stepping on each other.
- Collaborate with others: if you work on a team, Git makes it easy to exchange changes without conflicts and confusion.
- Keep a full history of changes: you always know who changed what and when. That is priceless for debugging and for understanding how the project evolved.
How to use it
Git works with three main states of your code:
- Working directory: the files you are editing right now.
- Index (staging area): where you put the files you want to include in the next commit (
git add). Think of it as the basket of picked items before you pay. - History (repository): where every committed version of your code lives (
git commit). This is your archive of save files.
Installing Git
Before you start, make sure Git is installed. If it is not:
- macOS: open the terminal and run
brew install git(if you have Homebrew) or install the Xcode Command Line Tools. - Windows: download the installer from git-scm.com and follow the steps. Git Bash is recommended.
- Ubuntu/Debian:
sudo apt install git
Check the install with git --version — it should print your Git version.
Step 1. Introduce yourself to Git
You only do this once. Git will then know who authored each commit. Without it your first commit throws an error.
git config --global user.name "Your Name"
git config --global user.email "your@email.com"
git config --global init.defaultBranch main # So new repos default to main instead of master
How to check: git config --global --list shows your user.name and user.email.
Important: if you use GitHub, GitLab or another service, use the same email as your account so your commits show up correctly on your profile.
Step 2. Initialise a repository and make your first commit
Turn any project folder into a Git repository.
cd path/to/your/project
git init # Creates a hidden .git/ folder in the current directory
git add . # Adds every file in the current folder to the index (staging area)
git commit -m "First commit: project start" # Records the staged changes into history with a message
How to check: after git init you will see Initialized empty Git repository in .../.git/. After git commit you get a summary of how many files changed.
Step 3. Connect a remote repository (the cloud)
Create an empty repository on GitHub (or GitLab/Gitea/Bitbucket) — no README, no .gitignore, no licence. Then copy the remote URL and run:
git remote add origin https://github.com/your_username/your_repository.git
git branch -M main # Rename the current branch to main (if it is master)
git push -u origin main # Push local changes to the remote repository
Your code now lives in the cloud. git push sends changes, git pull fetches them.
Step 4. Day-to-day work: changes, commits, syncing
This is your main loop:
- Make changes to the project files.
- Check the status:
git statusshows which files changed, which are staged and which are not. - Stage the changes:
git add filenameorgit add .(for every modified file). - Commit them:
git commit -m "Your meaningful commit message". - Push to the cloud:
git push. - Pull changes from others (or from another machine):
git pull.
Step 5. Branches and rollbacks
- Create a new branch:
git branch new_feature - Switch to a branch:
git checkout new_feature - Merge a branch into the current one: first switch to
main(git checkout main), thengit merge new_feature. - Delete a branch:
git branch -d new_feature(after the merge). - Roll back to an earlier commit:
git logshows the commit history with IDs. Copy the ID you need and rungit reset --hard commit_ID. Careful: this overwrites your working directory and history!
Tricks nobody tells you about
- Use
.gitignore: create a.gitignorefile in the project root and list the files and folders Git should ignore (for examplenode_modules/,.env,*.log). It keeps junk out of the repository. - Write meaningful commit messages: a commit message is a short description of what you did. A good one helps you and your teammates read the project history. For example:
feat: add image generation feature,fix: correct prompt parsing bug. - Use
git stashto park work in progress: if you are mid-task and suddenly have to switch to something else, but it is too early to commit, usegit stash. It parks your changes so you can switch branches, then come back and reapply them (git stash pop).
How this ties into the qvib.pro engine
At qvib.pro we build ready-made rules, roles and skills for vibe coding so you can ship your projects faster. Git fits that philosophy perfectly: take our ready templates, initialise a Git repository for them and start customising to your needs, saving every iteration along the way. That lets you experiment with prompts, models and configurations without fearing you will lose the working version, and jump back to any stage of your project in seconds.
Full card in the arsenal: https://qvib.pro/arsenal/guides/git-15/