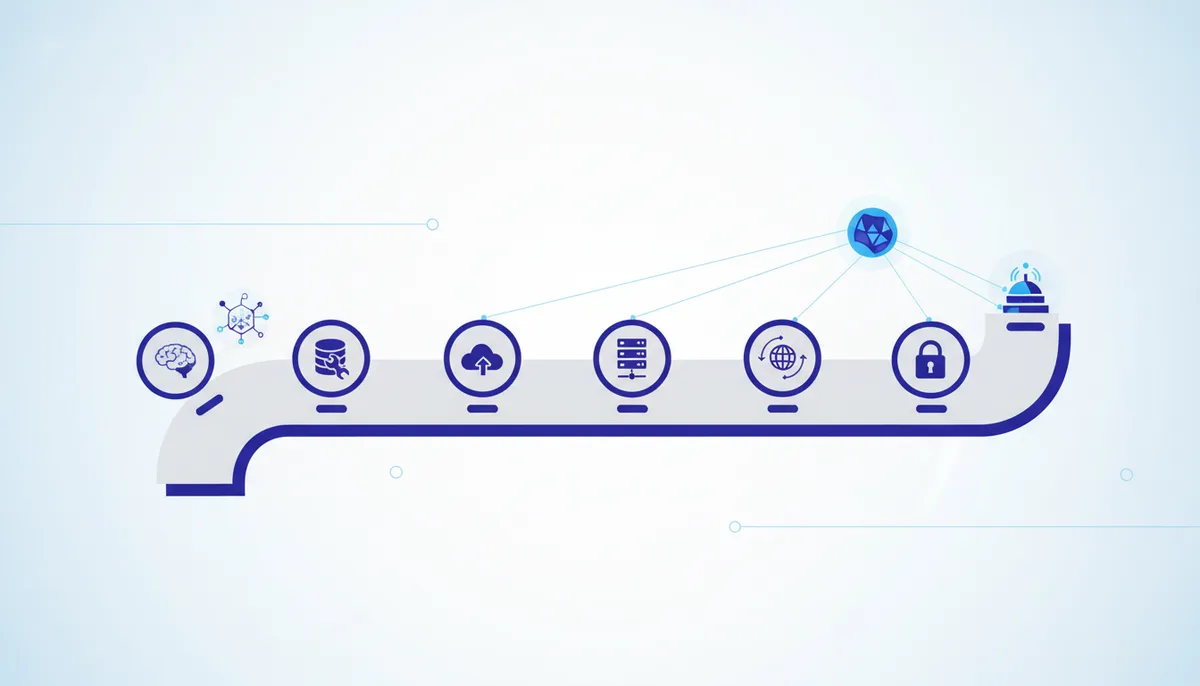
The canonical content of the "Stand up a server with AI" guide. The principle: universal. The AI here is any AI (ChatGPT, Claude, Gemini, DeepSeek, Qwen, a local Ollama). We are not tied to one tool. Level: a complete beginner can walk through it step by step, and a senior will find notes for themselves (the 🧠 blocks). The host in the examples is Timeweb Cloud (swap in any other: Hetzner, Selectel, Reg.ru, DigitalOcean — the steps are the same).
🧭 First — the whole picture (so it stops being scary)
A server is just someone else's computer that is always on and always online. You "rent" it, connect to it over the network and put your project there so it runs 24/7 and other people can reach it by a link.
The whole journey is 7 steps:
- Sign up with a host and create a server (VPS).
- Connect to it (SSH).
- Prepare the server (update it, create a user, turn on the firewall).
- Install Docker (so projects run the same way everywhere, painlessly).
- Set up Git and branches (to store the code and never lose a version).
- Bring the project to the server: either create a new one or push the local one up.
- Run it and open it by a link (domain + HTTPS).
🤖 The beginner's golden rule. If you do not understand something at ANY step — do not guess. Copy the error and ask the AI using the template at the end of this guide (the "Rescue prompt" section). That is the actual skill. A senior is not someone who knows everything, but someone who can find out quickly.
Step 1. Sign up with a host and create a server (VPS)
What we do: register and create a virtual server.
- Go to the Timeweb Cloud website → sign up (email/phone) → top up your balance (starting out costs pennies a day).
- In the control panel click "Create" → Servers (Cloud servers / VPS).
- Region: closest to your users (Moscow/St Petersburg/Novosibirsk/Kazakhstan/Poland/the Netherlands).
- Operating system: pick Ubuntu 24.04 LTS (why — below).
- A starter configuration: 2 CPU · 2 GB RAM · 40 GB SSD — that is enough for learning, a website, a bot, a small application. You can add power later in a couple of clicks.
- Access: choose an SSH key (safer) — how to make one is in Step 2. If that feels hard for now, "by password" works (the root password appears on the server's Dashboard).
- Click "Create" and wait about a minute. The server is ready: the Dashboard shows its IP address (for example
185.12.34.56).
Which OS to choose and why
Take Ubuntu LTS (currently 24.04). LTS = Long-Term Support, security updates for years. Ubuntu has the most instructions and answers out there, both on the internet and inside AI models → fewer dead ends for a beginner. Alternatives: Debian (even more stable, a bit more spartan), AlmaLinux/Rocky (if you need the RHEL world). A beginner doing web and code does not need Windows Server.
🧠 For the senior: for one-off services look at managed/Apps offerings; for production pin the image version, enable scheduled backup snapshots, and keep infrastructure as code (at least cloud-init / the Timeweb Terraform provider).
🤖 Ask the AI (if you are stuck on the choice): "I am a beginner and want to rent a VPS for <my project: a website/bot/app on ___>. Which configuration (CPU/RAM/disk) and which OS should I take to start, and why? Explain it in plain words."
Step 2. Connect to the server (SSH)
What SSH is: a secure way to "get into the server's terminal" from your own computer.
Option A — by password (the simplest)
- Windows: open PowerShell. macOS/Linux: open the Terminal.
- Type this (take the IP from the Dashboard):
ssh root@185.12.34.56 - Enter the root password (from the Dashboard). You are inside the server. 🎉
Option B — by SSH key (the proper way, no password, safer)
On your own computer:
ssh-keygen -t ed25519 -C "my email"       # press Enter on every question — a key pair is created
cat ~/.ssh/id_ed25519.pub                 # this is the PUBLIC key — it is fine to show it
Copy the output (a line like ssh-ed25519 AAAA...) and in the Timeweb panel, while creating the server, click "Upload a new key" → paste → Add. Now you connect without a password:
ssh root@185.12.34.56
⚠️ Security: the private key (
id_ed25519, the one without.pub) — never paste or send it anywhere, to anyone. It is the key to your flat.If the key will not attach, you can open the web console right in the Timeweb panel and paste the public key into
~/.ssh/authorized_keysby hand (vianano).
🤖 Ask the AI: "I am on <Windows/Mac>. Explain step by step how to generate an SSH key and connect to my Ubuntu server at
. After each command, tell me what should appear on screen."
Step 3. Prepare the server (5 minutes, done once)
You are inside the server. Do the basic hygiene:
apt update && apt upgrade -y                 # update the system
adduser anton                                # create your own user (do not work as root)
usermod -aG sudo anton                       # give them admin rights
Turn on the firewall (only let through what you need):
ufw allow OpenSSH                            # so you do not lose SSH access!
ufw allow 80                                 # website (HTTP)
ufw allow 443                                # website (HTTPS)
ufw enable                                    # turn it on
⚠️
ufw allow OpenSSHfirst,ufw enablesecond — otherwise you lock yourself out.🧠 For the senior: disable password login (
PasswordAuthentication noin/etc/ssh/sshd_config), keys only; installfail2ban; set upunattended-upgrades; schedule Timeweb snapshots; keep secrets out of your shell history.
🤖 Ask the AI: "Explain in plain words what each of these commands does, and whether it is safe to run them on my new Ubuntu 24.04 server:
."
Step 4. Install Docker (to run projects painlessly)
Why Docker: it packs the project together with its whole environment into a "box" (a container). It runs identically on your machine and on the server — the end of "but it worked on mine". For a beginner that means fewer errors, for a senior it means reproducibility.
Installation the official way (Ubuntu, the apt repository):
# base packages
sudo apt update
sudo apt install -y ca-certificates curl
# the Docker repository key (the current format is an .asc file)
sudo install -m 0755 -d /etc/apt/keyrings
sudo curl -fsSL https://download.docker.com/linux/ubuntu/gpg -o /etc/apt/keyrings/docker.asc
sudo chmod a+r /etc/apt/keyrings/docker.asc
# add the repository
echo "deb [arch=$(dpkg --print-architecture) signed-by=/etc/apt/keyrings/docker.asc] https://download.docker.com/linux/ubuntu $(. /etc/os-release && echo \"$VERSION_CODENAME\") stable" | sudo tee /etc/apt/sources.list.d/docker.list > /dev/null
# install
sudo apt update
sudo apt install -y docker-ce docker-ce-cli containerd.io docker-buildx-plugin docker-compose-plugin
# verify
sudo docker run hello-world
docker compose version
⚠️ The internet often suggests
curl ... | sh— convenient, but running a script blindly out of a pipe is a bad habit (that is how malware spreads). The method above is official and transparent.🧠 For the senior: add your user to the
dockergroup (usermod -aG docker anton), remembering it is root-equivalent; for production set resource limits, healthchecks, a dedicated network, and never expose ports directly (only through a reverse proxy).
🤖 Ask the AI: "Explain in plain words what Docker is and why I need it for a project on <language/framework>. Give me a Dockerfile and a docker-compose.yml for my project and explain every line."
Step 5. Git and branches (code storage + protection from losses)
Git is a time machine for your code: it records versions, lets you roll back, run parallel lines of work (branches) and move code between your machine and the server.
Create a repository (on your own computer, in the project folder)
git init
git add .
git commit -m "First commit: project start"
Create an empty repository on GitHub/GitLab → connect and push:
git remote add origin https://github.com/YOUR_USERNAME/my-project.git
git branch -M main
git push -u origin main
Branches — a universal scheme (works solo and in a team)
main— the stable stuff, what is "in production". Never commit here directly.dev— where finished pieces get assembled.feature/<what-you-are-doing>— a separate branch per task.
git checkout -b feature/login        # create a feature branch and switch to it
# ...you write the code...
git add .
git commit -m "Added email login"
git push -u origin feature/login     # push the branch
# done and verified → merge into dev:
git checkout dev
git merge feature/login
The minimal everyday set
git status                 # what changed
git add .                  # stage the changes
git commit -m "a clear description"
git push                   # send it to the cloud
git pull                   # pull in changes from another device or another person
.gitignore — what NOT to commit (important!)
Create a .gitignore file:
node_modules/
.venv/
.env            # secrets/passwords — NEVER in git!
*.log
dist/
⚠️ Secrets (passwords, keys, tokens) — NEVER in git. Keep them in
.env(which is in.gitignore). A key leaked into a public repository equals a breach.🧠 For the senior: trunk-based vs git-flow depending on context; protect
main(PR + review + CI), conventional commits, signed commits, and keep secrets in Vault/Secrets rather than in a.envon production.
🤖 Ask the AI (if you got tangled up): "I did something wrong in git: <describe it / paste the git status output>. Explain in plain words what happened and give me the exact commands to get back to how it was without losing anything."
Step 6. Bring the project to the server
Path A — push an existing local project up (recommended)
On the server (as your own user):
ssh anton@185.12.34.56
git clone https://github.com/YOUR_USERNAME/my-project.git
cd my-project
Then create the .env right there on the server (type the secrets in by hand, never from git) and start it.
Path B — create a brand-new project directly on the server
Just describe the task to the AI and build it step by step:
🤖 "Help me create a new project <what I want: a landing page / a Telegram bot / an API on ___>. I am on a clean Ubuntu server with Docker. Give me, step by step: the file structure, the code for a minimal working version, a Dockerfile, a docker-compose.yml and the command to run it. After each step, tell me how to check it works."
Step 7. Run it and open it by a link
Running with Docker
docker compose up -d        # bring the project up in the background
docker compose logs -f      # watch the logs (Ctrl+C to stop watching)
docker compose ps           # what is running
Check that the application responds on the server (on port 3000, for example):
curl http://localhost:3000
Domain + HTTPS (for a nice address and the padlock 🔒)
- Buy a domain (or take a free subdomain) and add an A record in DNS pointing at the server's IP.
- Install Caddy — it obtains the HTTPS certificate itself (the easiest option for a beginner). A minimal
Caddyfile:
Start Caddy (via Docker or the package) — it issues HTTPS automatically. Done: the project opens atmydomain.com { reverse_proxy localhost:3000 }https://mydomain.com.
🧠 For the senior: the alternatives are Nginx + certbot, or Traefik (labels on the containers). Add a healthcheck, auto-restart (
restart: unless-stopped), a dedicated docker network, logging/monitoring (Sentry/Grafana), a DB backup on cron plus snapshots.
🤖 Ask the AI: "My project listens on port <3000> on an Ubuntu server. Walk me through setting up the domain <mydomain.com> with HTTPS via Caddy, give me the Caddyfile and the commands, and explain the DNS A record in plain words."
🆘 Rescue prompt (works with any AI)
Save this template. When you get stuck, fill it in and paste it into any AI (ChatGPT, Claude, Gemini, DeepSeek, Qwen, a local Ollama — it makes no difference):
I am a beginner, explain in plain words and step by step.
MY GOAL: <what I want to end up with>
WHERE I AM: a VPS on Timeweb, Ubuntu 24.04, Docker and Git installed. <what I have already done>
I AM STUCK ON: <which step / what I am trying to do>
HERE IS WHAT I SEE (error/output):
<paste the exact error text or describe what is on screen>

What to do:
1) Explain in plain words what this means and why it is happening.
2) Give me the exact step-by-step commands FOR MY SYSTEM (Ubuntu 24.04).
3) After each command, tell me what should happen and how to know it is fine.
4) If a step is irreversible (deletion, overwrite, deploy) — warn me and suggest a backup.
5) At the end — how to verify the goal is achieved.
Mini-prompts for each step (in case of a dead end):
- Choosing a server → "Which VPS and OS for my project, and why?"
- Connecting → "How do I get onto the server over SSH from <Windows/Mac>, step by step?"
- Preparation → "What do these commands do and are they safe?
" - Docker → "Give me a Dockerfile and a docker-compose.yml for my project on
, explain the lines." - Git → "I got tangled up in git:
. How do I get back to how it was without losing anything?" - Deploy → "Set up domain + HTTPS via Caddy for port
, step by step."
💎 Depth and value (what this is all for)
- You stop depending on "specially trained people". The combo of a cheap server + Git + Docker + any AI as a mentor means you take an idea all the way to a live product on the internet yourself.
- The principle matters more than the buttons. Hosting interfaces and command versions change — but the model "rented → connected → prepared → ran it in a container → pushed via Git → opened on a domain" does not. Understand the model and you will cope with any host.
- AI is a mentor, not a crutch. Not "do it for me blindly", but "explain it and walk me through so I understand". That is how you grow: from following instructions to being your own DevOps.
- Security is part of the craft. Do not expose keys, keep secrets out of git, keep the firewall on, take a backup before anything irreversible. That is what separates a confident person from someone who will one day lose their data.
Once the basic path is mastered and you want the next level of autonomy (a team of AI agents: product owner + architect + engineer + review + security, taking a task all the way through with an automated test) — see the Laskoff OS tab in the service. That is an advanced track built on these very principles.