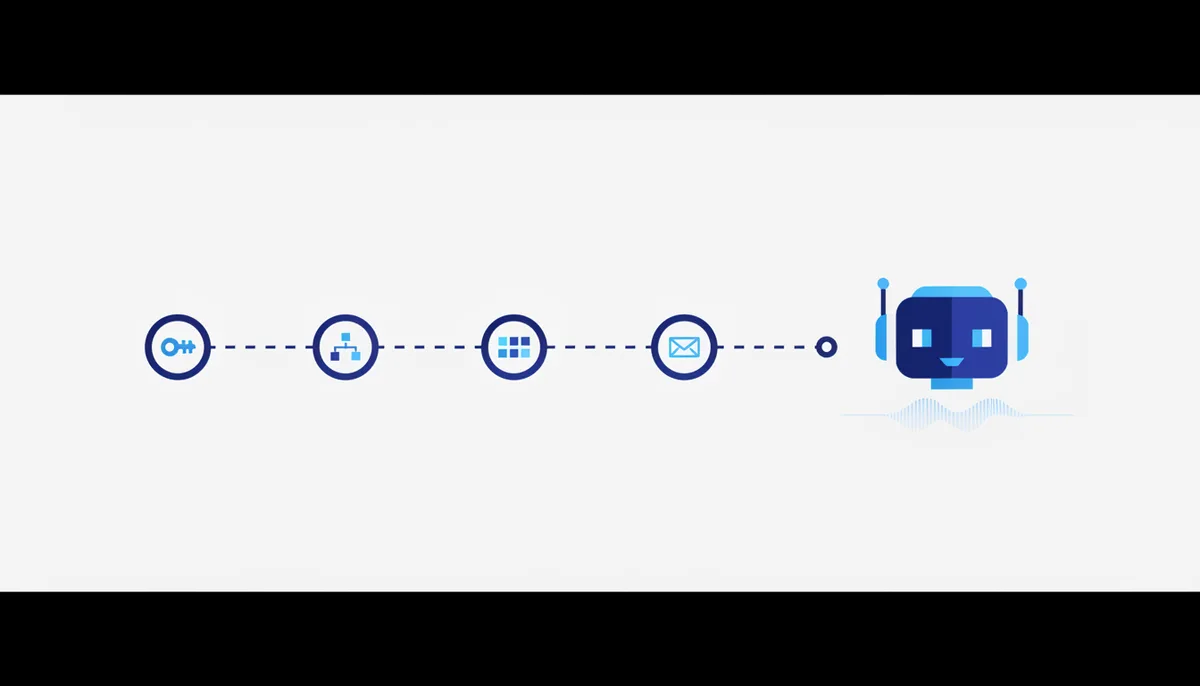
Every Telegram bot starts with one thing: a token from the official @BotFather. After that, the bot's "brains" come either from code or from a visual builder (no-code) — you assemble the logic with your mouse. The BotFather steps are verified against the official Telegram docs (core.telegram.org/bots).
🧭 The big picture
What you end up with: a live bot in Telegram that answers messages on its own, shows menus and buttons, collects leads/surveys and sends broadcasts — all without a single line of code.
How it works — two parts. (1) @BotFather — Telegram's official "bot that creates bots": it registers your bot and issues a token (the bot's secret password key). (2) The "brains" — whatever decides how the bot answers. Without code, a visual builder provides them: you draw the flow (got this → replied with that, showed these buttons) and the builder runs the bot for you on its own servers.
The path is 4 steps: create the bot in BotFather → get the token → assemble the logic in a builder (pasting the token) → publish and test.
💡 The token is the bot's password. Whoever knows the token controls the bot. Don't publish it, don't leave it in screenshots. If it leaks, issue a new one in BotFather with
/revoke.
Step 1. Create a bot in @BotFather and get the token
What we're doing: registering the bot with the official BotFather and grabbing the token.
- In Telegram, find @BotFather (with the blue verification checkmark — make sure it's the official one) and press Start.
- Send the command:
/newbot - BotFather will ask for the bot's name (anything, visible in the profile — e.g. "Book an appointment").
- Then it asks for a username — it must end in
botand be unique (e.g.my_salon_booking_bot), Latin letters/digits/underscore only, 5–32 characters. - In reply BotFather sends a token that looks like
110201543:AAHdqTcvCH1vGWJxfSeofSAs0K5PALDsawand a link to the bot,t.me/username.
How to tell it worked: you followed t.me/your_bot, pressed Start — the bot exists (it's silent for now, it has no brains yet). The token is saved somewhere safe.
Common mistakes:
Sorry, this username is already taken— the username is taken. Come up with another one (it's globally unique).- The username doesn't end in
bot→ BotFather won't accept it. That's a Telegram requirement. - You copied the token only partially (it's long, with a colon in the middle) — copy the whole string.
- You found a "BotFather" without the checkmark → that's a fake. Only the official, verified account.
💡 You can set up the bot's appearance in BotFather right away (optional):
/setdescription— the "what this bot does" text shown before the start screen;/setabouttext— a short bio;/setuserpic— an avatar;/setcommands— the command list that pops up when you type "/". The list of all your bots and their settings is/mybots.
Step 2. Pick a builder (the no-code "brains")
What we're doing: choosing the visual builder that will run the bot's logic using the token. The principle is the same everywhere: you sign up → paste the token from Step 1 → assemble the flow out of blocks. Popular builders (most have a free tier to start with): SaleBot, BotHelp, Robochat, Manybot, Puzzlebot and similar. Choose by the features you need (leads, payments, broadcasts, CRM integrations) and the interface language.
How to tell it worked: the service you picked has: token-based connection, a visual flow editor (blocks/buttons), broadcasts and answer collection. That's enough for 90% of use cases.
Common mistakes:
- You picked a service without a feature you need (no payment acceptance, say) → you'll hit the wall later. Match the feature list against your task up front.
- Worried about vendor lock-in: the bot lives on the builder's servers. That's normal for no-code; if you outgrow it, you move to your own code (see below).
Step 3. Connect the token and assemble the flow
What we're doing: bringing the bot to life — pasting the token and drawing the logic.
- In the builder: Add bot / Connect → paste the token from Step 1 → the service confirms the connection.
- Assemble a starter flow out of blocks:
- The
/startcommand → a greeting + a menu (buttons: "Services", "Book", "Contacts"). - Button → reply: each button gets its own text/image/next menu.
- Lead capture: a chain of questions (name → phone → service) → answers are saved and/or land in your chat/spreadsheet.
- The command menu (
/start,/help,/contacts) — mirror it in BotFather via/setcommands.
- The
How to tell it worked: you opened the bot in Telegram, pressed Start — the greeting arrived with buttons; you walked through the lead flow — the data was saved / reached you. The bot came alive.
Common mistakes:
- "The bot doesn't answer" after connecting — the token was pasted with a space or incompletely, or the bot isn't started/is switched off in the builder. Reconnect the token, switch the bot on.
- The same token is being used in parallel by code/another service → a conflict (two connections to Telegram at once). One token = one "engine" at a time.
- You test and see no changes — the flow wasn't saved/published. Hit "Save/Publish" in the builder after edits.
Step 4. Publish, test, share
What we're doing: getting it production-ready and handing out the link.
- Walk through EVERY branch of the flow as a user (every button, every dead end) — fix the places where the bot goes silent or loops.
- Set up broadcasts/notifications if you need them (most builders can message your subscriber base — subject to the rules, see ⚠️).
- Hand out the
t.me/your_botlink or a QR code; on a website — a "Message us on Telegram" button.
How to tell it worked: from someone else's account (ask a friend or use a second profile) the bot runs every flow exactly as it does for you. Leads arrive. The link opens the bot.
Common mistakes:
- You only tested on yourself → for a new user
/startbehaves differently (no history). Test from a "clean" account. - A button leads nowhere (you forgot to attach a reply) — walk every branch to the end.
🧠 For the senior
- When you outgrow no-code — move to your own code: the aiogram/python-telegram-bot libraries (Python) or grammY/Telegraf (Node). Same BotFather token, but full control over logic, database and integrations.
- Webhook vs long polling: for production —
setWebhookto an HTTPS endpoint (instant, cheap); for development — long polling. One token means one update-delivery method at a time. - Telegram Mini Apps: build complex UI as a Web App (your HTTPS site opens inside Telegram) — configured for the bot through BotFather (
/newapp/ Bot Settings → Web App). See the "How to share or publish a service" guide. - Payments and security: accept payments through Telegram Payments providers; keep the token and keys in environment variables, not in code; verify the webhook's
secret_tokenso you don't accept someone else's updates. - Anti-spam and consent: send mass broadcasts only to people who messaged the bot themselves; respect Telegram's message-rate limits (otherwise the bot gets throttled).
⚠️ Warnings
- The token = full access to the bot. Never publish it (screenshots, posts, a public repository). If it leaks —
/revokein BotFather immediately, and the old one stops working. - Broadcasts and the law. You may message people who started the conversation with the bot themselves and consented; mass spam breaks both Telegram's rules (the bot gets banned) and advertising / personal-data law (152-FZ, on subscribers' personal data). Collect consent, provide an unsubscribe option.
- Other people's data in the builder. Leads with phone numbers and names are personal data: you are their operator (152-FZ). Pick a builder with adequate data handling and don't collect more than you need.
- A no-code service is a third party. The bot and the data live on its servers; for a sensitive business, weigh the risk or go with your own code/server.
🆘 Rescue prompt
Help me build a Telegram bot with no code, explain it step by step.
WHAT THE BOT SHOULD DO: <auto-replies / a button menu / lead capture / broadcasts / appointment booking>.
WHAT I'M BUILDING IT ON: <builder: SaleBot / BotHelp / Manybot / another / haven't picked yet>.
WHERE I AM: <do I already have a token from BotFather? have I assembled the flow?>. I'M STUCK ON: <the bot is silent / a button doesn't work / I can't figure out where to paste the token>.

What to do:
1) If it's no-code — which builder fits my features and how to paste the token into it.
2) How to assemble the flow step by step (start → menu → buttons → lead).
3) After each step — how to check the bot responds (from a clean account).
4) Warn me about keeping the token secret and about the rules for broadcasts and personal data.
💎 Depth and value
- Your own channel to your audience — no middlemen. A Telegram bot is direct contact with customers: leads, replies and broadcasts come to you instead of getting lost in someone else's feed. And you can launch it in an evening without a developer.
- No-code removes the barrier, code removes the ceiling. A builder gives you a result today; when you hit its limits, the same token moves over to your own code (aiogram/grammY) and server. You don't throw away what you built — you build on it.
- This is a working business tool, not a toy. Appointment booking, an auto-funnel, support, surveys, payments — a bot covers all of it more cheaply than an app or a team of people. Once you've internalized the "BotFather → token → logic" pattern, you can assemble a bot for any task.